Home → The Classics → Farai's Codelab
Enabling HTTPS on GitLab Pages Using Let’s Encrypt in Bash For Windows
Published: Updated:
Update 10 March 2024: Well, this is very much automated now, ignore this.
One of the reasons I moved to GitLab Pages was that GitLab Pages supported HTTPS unlike GitHub Pages (until recently). The main catch was that you had to set up the certificate manually. With my SSL certificate expiring soon, I thought I’d provide instructions on how to generate SSL certificates using Let’s Encrypt in Bash For Windows.
To do this, you need to:
- Enable the Linux Subsytem for Windows
- Install Certbot
- Generate A Standalone SSL Certificate
- Copy The Certificate and Key Into GitLab
- Check The Certificate and Set a Reminder To Renew the Certificate in 90 Days Time
1. Enable the Linux Subsystem for Windows
Follow the Windows Subsystem for Linux Installation Guide for Windows 10, and initilize the installed linux distribution.
2. Install Certbot
Certbot is the recommended ACME client needed for Let’s Encrypt to generate SSL certificates. To install Certbot, open the Linux subsystem (bash in the command line does this too) and enter the following commands.
sudo apt-get update
sudo apt-get install software-properties-common
sudo add-apt-repository universe
sudo add-apt-repository ppa:certbot/certbot
sudo apt-get update
sudo apt-get install certbot
3. Generate A Standalone SSL Certificate
To generate the certificate, run the certbot command like this
sudo certbot certonly \
    --manual \
    -m [email protected] \
    --preferred-challenges=dns \
    --agree-tos \
    -d *.fgandiya.me \
    -d fgandiya.me
Use the table below to see what the flags mean. For full settings and configuration, run certbot -h. If this is the first time running certbot, you’ll be asked if you want to be sent marketing emails from the EFF and if you want your email to be logged.
| Flag | Meaning |
|---|---|
--m | Your email address for notifications about the certificate |
preferred-challenges | How the domain is validated. http and dns are supported, although I recommend dns |
-d | The domains to validate. Multiple domains are supported with additional -d flags although you can use a wildcard * for an OV certificate. Note that the naked domain doesn’t count as under the wildcard. |
Once you’ve run the command, follow the prompts. If you’ve set the preffered challenge to DNS like I have, you’ll be asked to add a TXT record to the domain’s DNS. The whole interaction should look like this (Skip to the next section).
Saving debug log to /var/log/letsencrypt/letsencrypt.log
Plugins selected: Authenticator manual, Installer None
Obtaining a new certificate
Performing the following challenges:
dns-01 challenge for fgandiya.me

- - - - - - - - - - - - - - - - - - - - - - - - - - - - - - - - - - - - - - - -
NOTE: The IP of this machine will be publicly logged as having requested this
certificate. If you're running certbot in manual mode on a machine that is not
your server, please ensure you're okay with that.

Are you OK with your IP being logged?
- - - - - - - - - - - - - - - - - - - - - - - - - - - - - - - - - - - - - - - -
(Y)es/(N)o: Y

- - - - - - - - - - - - - - - - - - - - - - - - - - - - - - - - - - - - - - - -
Please deploy a DNS TXT record under the name
_acme-challenge.fgandiya.me with the following value:

<redacted>

Before continuing, verify the record is deployed.
- - - - - - - - - - - - - - - - - - - - - - - - - - - - - - - - - - - - - - - -
Press Enter to Continue
Waiting for verification...
Cleaning up challenges

IMPORTANT NOTES:
 - Congratulations! Your certificate and chain have been saved at:
   /etc/letsencrypt/live/fgandiya.me/fullchain.pem
   Your key file has been saved at:
   /etc/letsencrypt/live/fgandiya.me/privkey.pem
   Your cert will expire on 2019-05-25. To obtain a new or tweaked
   version of this certificate in the future, simply run certbot
   again. To non-interactively renew *all* of your certificates, run
   "certbot renew"
 - If you like Certbot, please consider supporting our work by:

   Donating to ISRG / Let's Encrypt:   https://letsencrypt.org/donate
   Donating to EFF:                    https://eff.org/donate-le
4. Copy The Certificate and Key Into GitLab
To get the certificate, run
sudo cat /etc/letsencrypt/live/<domain>/fullchain.pem
To get the key, run
sudo cat /etc/letsencrypt/live/<domain>/privkey.pem
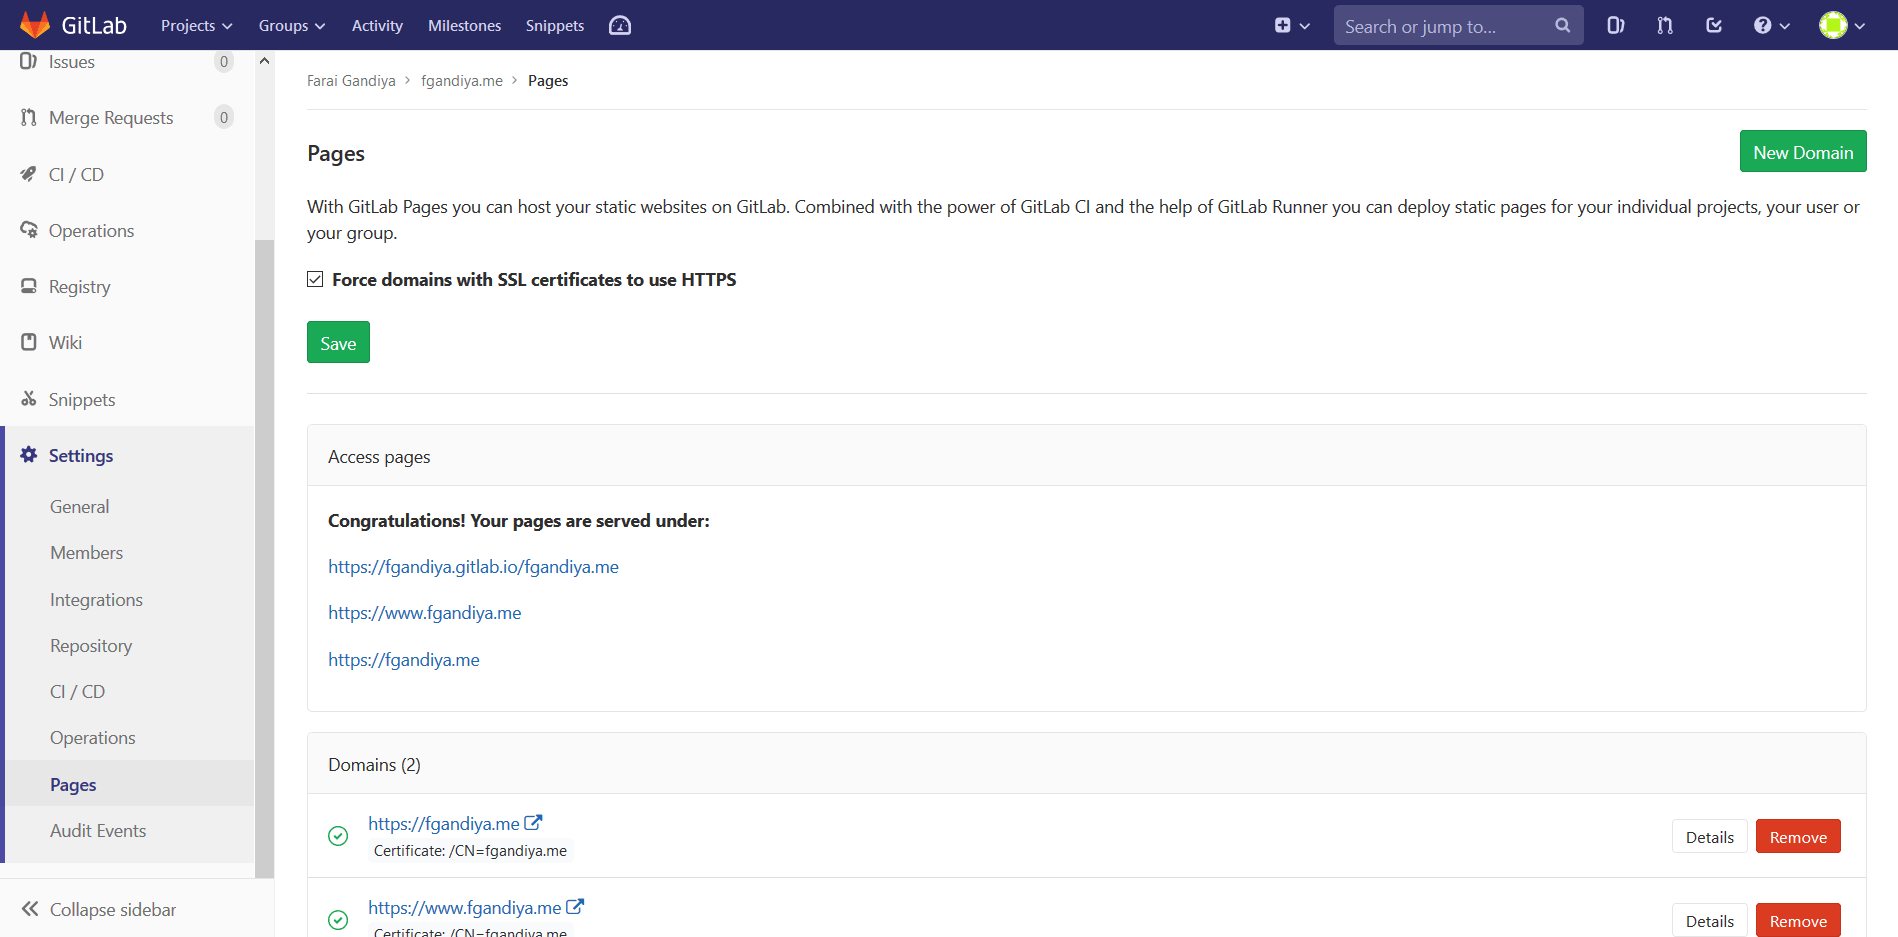
Then in GitLab Pages, navigate to the domain settings by navigating to Settings>Pages. What you do next depends on whether the certificate is being renewed or if a new domain is being added.

4.1 If A Domain’s Certificate Is Being Renewed
While on the Settings>Pages page, scroll down to Domains and next to the domain who’s certificate you want to renew, navigate to Details.

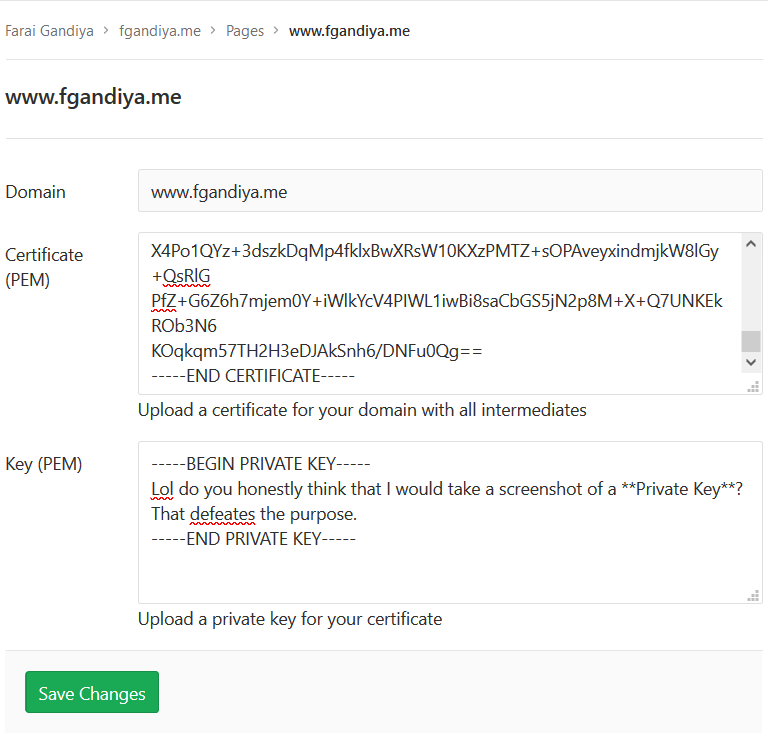
There, select Edit and paste the certificate in the Certificate (PEM) field and the private key in the Key (PEM) field and Save Changes.

4.2 If A New Domain Is Being Added.
If you’re adding a new domain, navigate to New Domain in the Settings>Pages. Add the domain and certificate information and select Create New Domain. Note that you’ll have to verify the domain you added.
5. Check The Certificate and Set a Reminder To Renew the Certificate in 90 Days Time
To verify the certificate, use an online SSL Checker. If you use your browser to check the certificate and the certificate was invalid, you’ll have a hard time checking your fixes work without clearing your browser history.
Let’s Encrypt certificates last for 90 days to encourage automation. Since automating SSL certificates isn’t possible with GitLab Pages, you’ll have to make a reminder to renew the certificate 90 days from when you made it.